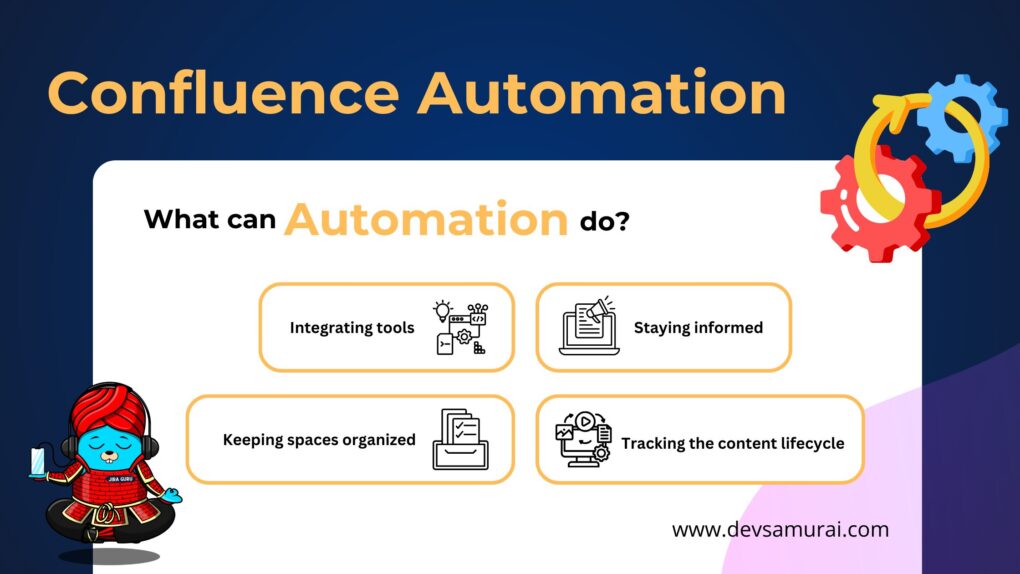
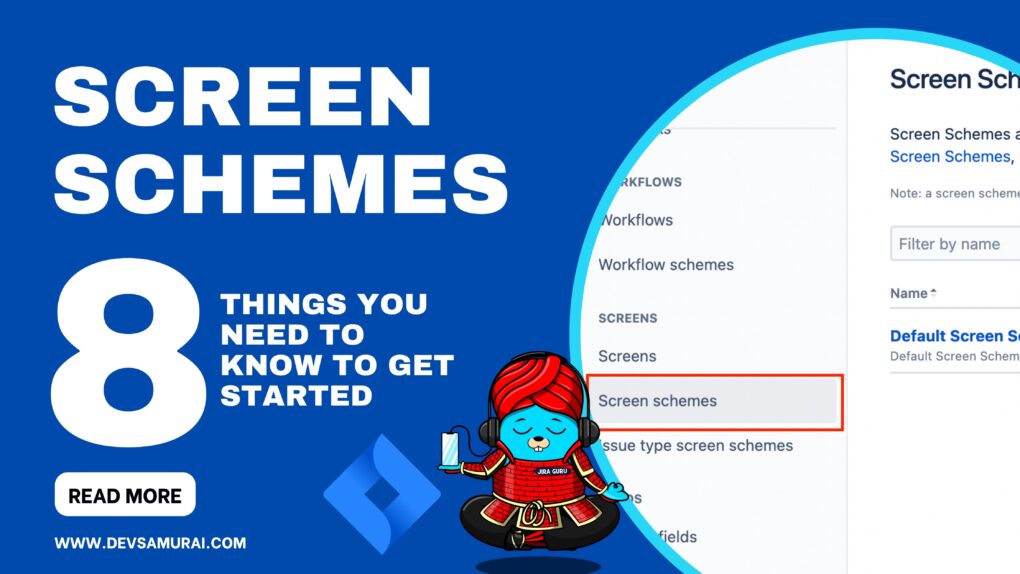
Jira is a popular project management solution that provides its users with several customization options. The ability to create Screen Schemes is one of these customization choices. Screen Schemes let users specify which fields appear on Jira screens, where they appear, and how they are structured. This customization can assist users in optimizing their workflow, saving time and increasing productivity. In this blog post, we’ll go over the top 8 things you need to know to get started with Jira Screen Schemes.
1. What are Screen Schemes in Jira?
A “Screen Scheme” is a configuration that defines what fields are shown, where they are located, and how they are organized on Jira screens. Screen Schemes are used to customize the issue view and edit screens in Jira, which are the main screens used to view and edit issues.
A “screen scheme” allows you to choose which screen will be shown to a Jira user when they perform a particular issue operation. There are three issue operations for which you can choose a screen:
- Create issue: the screen that is shown when an issue is being created.
- Edit issue: the screen that is shown when an issue is edited.
- View issue: the screen that is shown when a user views an issue.
2. Why do you need custom Screen Schemes?
By customizing the issue view and edit screens to display just the information important to their unique project or team, Jira users may improve their workflow and enhance productivity. By showing only the most necessary information, users can save time searching for information and by doing so perform tasks more effectively.
3. How to create a Jira Screen Scheme?
Creating a Screen Scheme in Jira is a simple task.
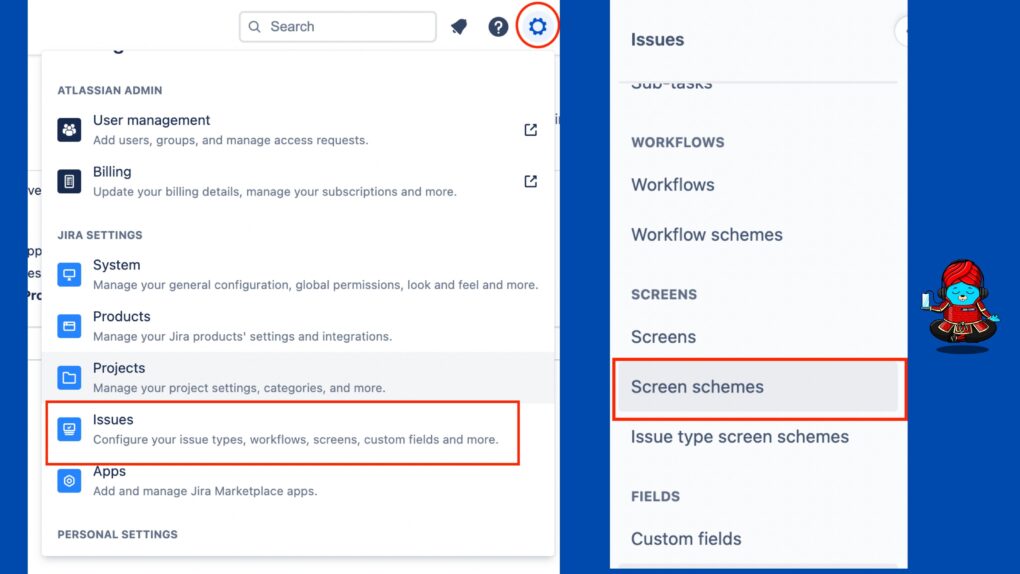
- Navigate to the Issues Administration Page and select Screen Schemes from the left sidebar.
- Simply go to Jira’s “Screen Schemes” page and select “Add Screen Scheme.”
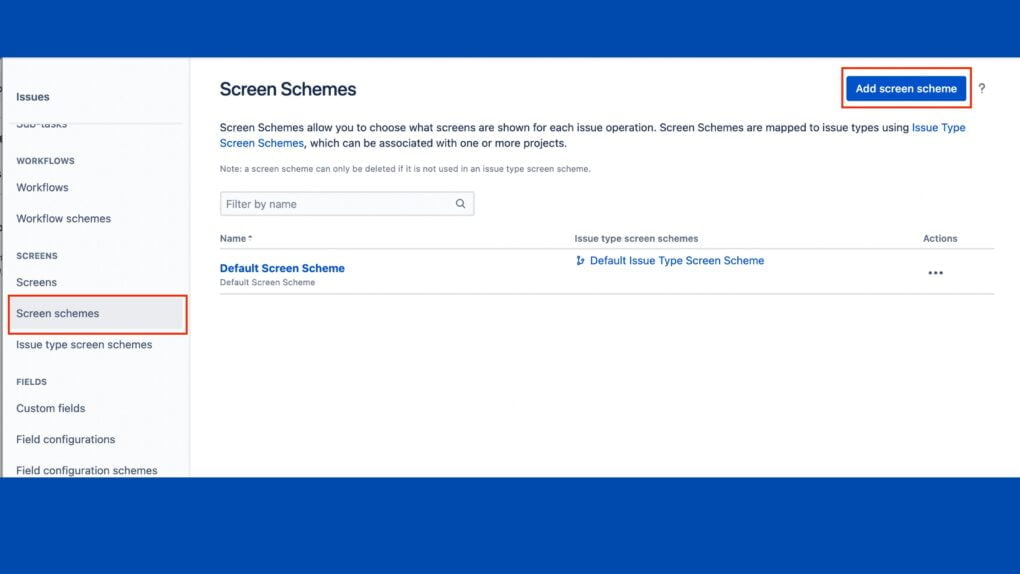
- From there, you can choose which screens to use and adjust the tabs and fields on each one. You can assign your Screen Scheme to a project or issue type once it has been configured.
4. How to configure a screen scheme
Associate a screen with an issue operation
- Locate the screen scheme in which you are interested, and select the Configure link next to it.
- Select Associate an issue operation with a screen, and select the following options:
- Select the Issue Operation with which you wish to associate a screen.
- Select the desired screen.
5. Key notes for configuring a screen scheme
- There can only be one association for an issue operation per screen scheme. If all operations have been associated with a screen, use the Edit link next to each operation to change the screen it is associated with.
- If an issue operation does not have a specific mapping to a screen, the screen that is associated with the Default entry will be used for that operation. The Default entry cannot be deleted from a screen scheme. Click Edit next to the Default entry to change the screen that is associated with it.
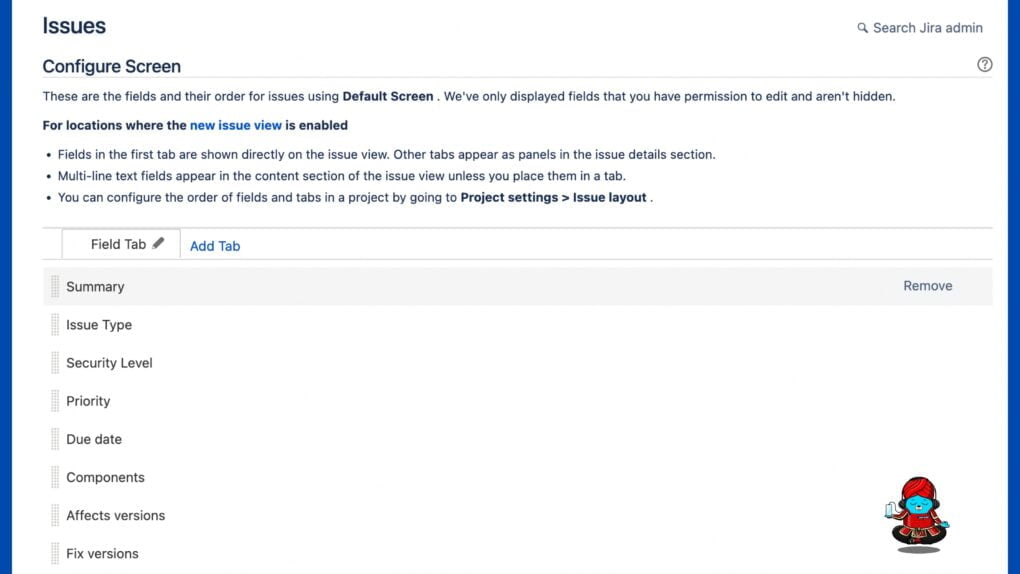
- The View Issue operation only allows you to control the layout of custom fields in the middle of the View Issue page. It ignores all the non-custom fields on the screen.
6. What is the difference between screen schemes and screen?
- A screen is the user’s view of an issue, and the screen is mapped to a specific issue operation (such as creating an issue, or editing an issue) via a screen scheme.
- The screen scheme is then mapped to an issue type via the issue type screen scheme.
Example:
You have 2 screens:
- Screen A (Summary, Description, Due Date)
- Screen B (Summary, Description)
You create Screen Scheme 1 “Screen Scheme A” with
- Create – Screen A
- Edit – Screen B
- View – Screen A
You create Screen Scheme 2 “Screen Scheme B” with
- Default (Screen B)
Summary: a screen is a user interface that displays the information for a specific issue or project, while a screen scheme is a collection of screens that are associated with a particular issue type or project.
7. What is the difference between screen schemes and issue type screen schemes?
Screen Scheme is defines which screens are going to be used for which operation (create, view, edit)
Issue Type Screen Scheme is defines which Screen Scheme (above) is going to be used for which issue type
Example:
You have 2 screens:
- Screen A (Summary, Description, Due Date)
- Screen B (Summary, Description)
You create Screen Scheme 1 “Screen Scheme A” with
- Create – Screen A
- Edit – Screen B
- View – Screen A
You create Screen Scheme 2 “Screen Scheme B” with
- Default (Screen B)
You create a new Issue Type Screen Scheme “Issue Type Screen Scheme X” with
- Default (Screen B)
- Bug (Screen A)
So, as a recap , now when a project has specified “Issue Type Screen Scheme X”, on issue type:
- Bug – You will be able to set Due Date while creating and also view it, but you will not be able to edit
- Any other issue type – You won’t have field Due Date at all
Summary: Screen schemes apply to the project as a whole, while issue type screen schemes apply to specific issue types within the project
8. Tips for using Screen Schemes in Jira
Here are some additional tips for Jira users when working with Screen Schemes:
- Customize your Screen Schemes to match your workflow
- Use different Screen Schemes for different issue types
- Press the period button (“.”) at any time in JIRA to open the quick navigation dialog.
- Start typing the name of the page you are looking for and open it by pressing the Return key.
In conclusion, Screen Schemes are a powerful customization option in Jira that can help users streamline their workflow and increase productivity. By following these tips and best practices, you can create effective Screen Schemes that meet the specific needs of your projects and teams. With a little bit of configuration, you can make Jira work for you and your team.
About DevSamurai
DevSamurai is a Global IT service company that provides DevOps solutions for Jira, Atlassian and more… using cutting-edge technology to its growing customer base. DevSamurai is customer-centric and helps clients to leverage the power of IT to improve their business. DevSamurai use cloud computing platforms, DevOps tools, and best practices in global industry standards to guarantee the efficiency of their clients’ organization.
If you want even more app to manage your project, check out these resources: Atlassian Marketplace