Confluence is a powerful tool from Atlassian that helps teams work together by organizing content in one central place. Whether you’re planning projects, sharing ideas, or building a knowledge base, Confluence keeps everything accessible and easy to use. However, as teams grow and content piles up, managing it all manually can get overwhelming. That’s where Confluence Automation comes in. It handles repetitive tasks like sending updates, organizing content, and syncing with tools like Slack or Jira, saving you time and keeping things running smoothly.
In this blog, we’ll explain what Confluence Automation is, what this feature can do, and why it’s so useful for teams. Let’s get started!
What is Confluence Automation?
1. Understanding Confluence Automation
Confluence Automation is a premium feature in Atlassian’s Confluence software. It lets users set up rules and workflows to automate routine, repetitive tasks. Essentially, it enables teams to streamline content management, keep information organized, and keep everyone updated with minimal manual effort. With automation, Confluence users can set triggers and actions to handle common tasks automatically. For example, it can notify team members of updates, label new pages for easy categorization, or send reminders about deadlines.
Example: You can set up a rule like, “When a new page is created, notify the team in Slack.” This way, everyone gets updates automatically, without anyone having to send messages manually.
=> Read more: Confluence automation for premium plans
2. Why do we need to use automation in Confluence?
Confluence Automation streamlines work, keeps teams organized, and improves efficiency. Here are some key reasons why automation is valuable in Confluence:
- Saves Time on Repetitive Tasks
Automation handles tasks like sending notifications, adding labels, or archiving old content. For instance, it can notify team members when a page is updated. This gives teams more time to focus on important work. - Keeps Content Consistent and Organized
Admins can set up rules to ensure spaces follow a standard layout. Automation can apply labels to pages automatically or move outdated content to archives. This keeps Confluence well organized and easy to use. - Improves Team Communication and Collaboration
Automation ensures team members are always informed about changes. Notifications are sent automatically, so no one has to follow up or manually check for updates. - Reduces Human Error
Tasks like tagging, updating content, or scheduling reminders are automated, reducing the chance of mistakes. Automation ensures processes are followed correctly every time. - Scales with Team Growth
As teams grow and content increases, managing everything manually becomes harder. Automation makes it easier to handle growing workloads and keep Confluence efficient.
In short, Confluence Automation makes it easier for teams to manage content, stay organized, and communicate effectively—all while reducing manual work and errors.
3. Where is Confluence Automation?
Confluence Automation is located within the Space Settings of a Confluence space. Here’s how you can find it:
- Global Automation: Site admins and Confluence admins can create and manage rules that apply across all of Confluence.
- Click the gear icon in the top-right corner to access Confluence Administration
- In the left-hand navigation, go to Admin Tools and select Automation.

- Space Automation: Space admins can create and manage rules specifically for individual spaces
- Open the space where you want to create a rule.
- Click Automation from the sidebar.
- Select Rules under the Automation section.
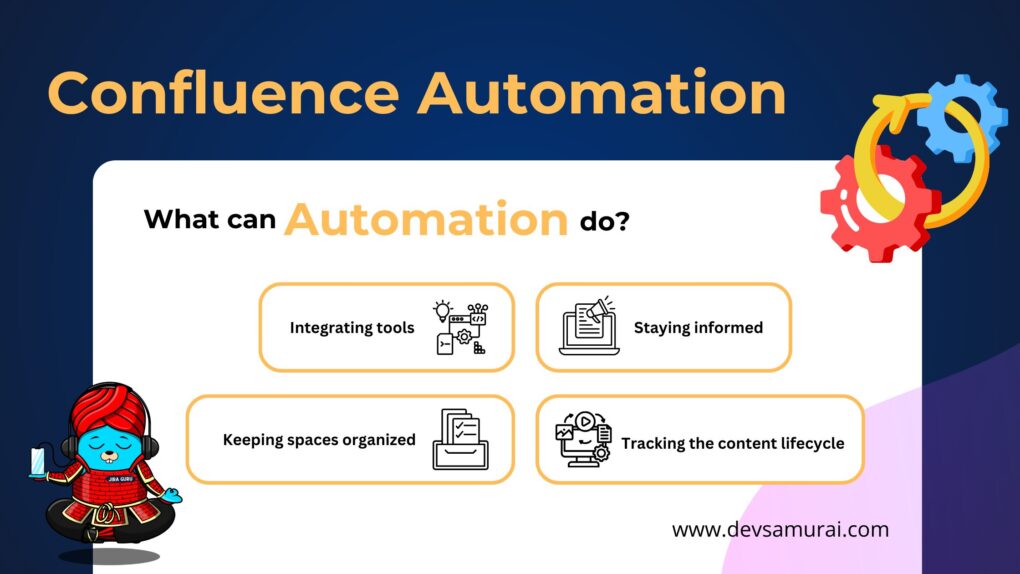
What can Confluence automation do?
Automation takes repetitive tasks that you’d typically handle manually and sets them to run automatically. In Confluence, this can be a game-changer for teams by reducing manual updates, improving organization, and making it easy to keep everyone in the loop. Whether your team uses Confluence for project collaboration or as a knowledge base, automation can make everything smoother and more efficient.
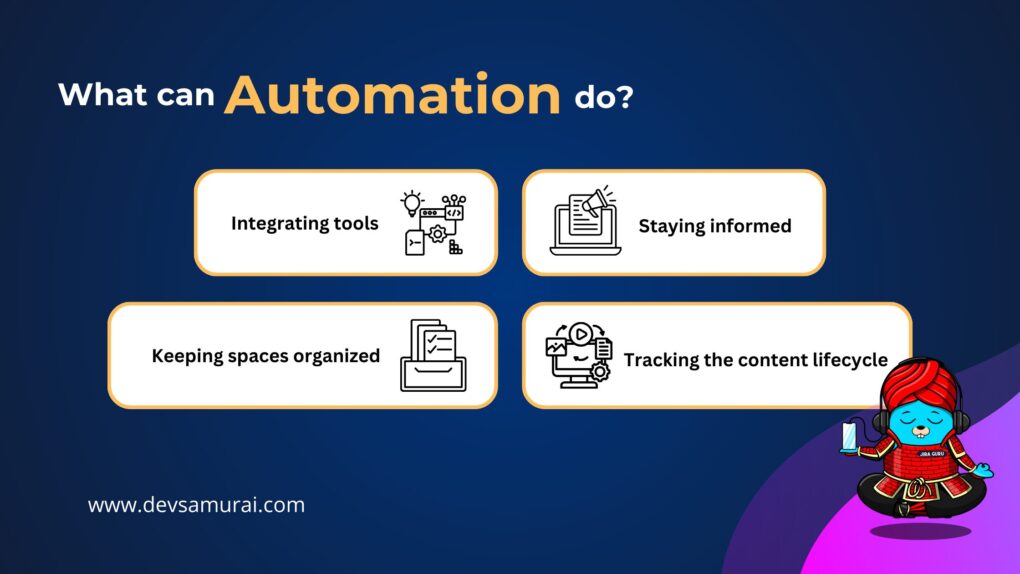
1. Integrating Confluence with Other Tools
Confluence Automation integrates with apps like Slack or Microsoft Teams. This keeps everyone informed without manual updates. Instead of constantly checking Confluence for new information, teams can receive automated alerts when something changes, so they’re always in the loop.
Examples:
- Slack Notifications for New Content: You can set up Confluence to send a message to a Slack channel whenever a new page is created, so everyone knows about new content instantly.
- Connecting to External Apps: Using webhooks, Confluence can send updates to other apps whenever a specific action happens in Confluence. This allows you to sync Confluence with project management tools, CRMs, or other external platforms, enhancing workflow integration.
This type of automation ensures team members stay up-to-date on critical changes without needing to actively monitor Confluence.
2. Managing Content in Confluence
Automating content management is one of the most practical uses of Confluence automation. It allows you to keep information organized and current, with tools to enforce review processes, add labels, and remind team members to update content regularly. These features make Confluence a highly organized and searchable knowledge base.
Examples:
- Automated Content Review Reminders: By setting up reminders, you can prompt team members to review pages periodically. This keeps information fresh and ensures that outdated content gets the attention it needs.
- Automatic Labeling: Suppose you’re using Confluence to manage internal processes. Automation can label all new pages created by a specific group with “Process,” helping team members quickly find related pages by category.
These automations make it easy to organize Confluence content in a way that’s logical and accessible, so team members can always find the latest, most relevant information.
3. Organizing Spaces
As your team grows and more content is added, Confluence spaces can become cluttered and harder to navigate. Automation helps maintain a clean and consistent structure across spaces, allowing team members to find what they need quickly and efficiently.
Examples:
- Standardized Page Structure: With automation, you can create a consistent structure for each new project or department space, making Confluence easier to navigate and ensuring that everyone follows the same organizational standards.
- Auto-Generated Documents: Recurring documents like meeting notes or project summaries can be automatically created in a specific section, so team members always know where to find the latest updates.
By maintaining an organized layout with automation, you ensure that every Confluence space is user-friendly, logically structured, and easy to search.
4. Keeping Everyone Informed
Automating notifications and reminders is a simple but powerful way to help teams stay on top of tasks, projects, and deadlines. Instead of needing to check in with team members for updates or reminders, Confluence automation takes care of it for you, keeping everyone aligned and aware of their responsibilities.
Examples:
- Task Completion Reminders: Team members can receive automated notifications reminding them to complete assigned tasks or to review specific documents, helping everyone stay accountable without manual follow-up.
- Project Progress Updates: For projects with multiple phases, you can set notifications that alert the team when certain milestones are reached, so everyone knows the project’s current status without needing to ask for updates.
Automated reminders and progress updates keep everyone connected to key tasks and timelines, making it easy to track progress without micromanagement.
How to Build a Confluence Automation Rule
Confluence Automation helps teams save time by automating repetitive tasks. Whether you want to notify team members of updates, organize content, or sync with other tools, creating automation rules in Confluence is straightforward. At first, you have to create a specific plan detailing what you want to automate, including the steps required for the automation process. You can draft a When-Then statement to ensure that you don’t miss any details in your automation rule.
In Global or Space Automation, you can create rules either by starting with a template or building one from scratch using the rule builder. Here’s how to build a basic automation:
1. Create a Rule from a Template
Step-by-step guide:
- Open the Templates Tab
- Go to the Automation section.
- Select the Templates tab to view available rule templates.
- Choose a Rule Template
- Browse the templates and select the one that fits your needs.
- The selected template will include pre-configured components to help you get started.
- Rename and Configure the Rule (Optional)
- You can rename the rule and adjust basic settings like Owner and Actor.
- If you prefer, you can edit these details later.
- Edit the Rule Components
- On the left-hand side, review the rule chain summary.
- Click on each component to see its purpose and modify its configuration if needed.
- Use the Add Component option to add more actions, conditions, or branches to the rule.
- Update Rule Details
- Go to Rule Details to change the name, owner, or other default settings.
- Enable the Rule
- Once you’re satisfied with the setup, click Turn it on at the top to save and activate your rule.
Creating a rule from a template in Confluence Automation is a quick and effective way to streamline your workflows. By selecting a pre-built template, you can start with a well-structured rule and customize it to meet your specific needs. Whether it’s renaming the rule, editing components, or adding new actions, the process is flexible and straightforward. Once you’ve configured the rule and are happy with its setup, enabling it is just a click away. With this simple approach, you can save time and improve productivity by automating repetitive tasks in Confluence.
Example
You want to create the rule that Notifies Slack When a New Page is Created. Here is exactly steps Using a Template:
- Open Templates: Go to Automation > Templates and select the “Notify via Slack when a page is created” template.
- Rename and Configure: Rename the rule (e.g., “Slack Notification for New Page”) and update details like the Owner and Actor if needed.
- Edit Components: Click the Slack notification action to customize the message (e.g., “A new page was created: {{page.title}} – {{page.url}}”) and select the Slack channel.
- Enable the Rule: Click Turn it on to save and activate the rule.
2. Create a rule in the Rule builder
Step-by-step guide:
- Start a New Rule
- Click the Create rule button in the top-right corner of the Automation section.
- This will open the rule builder, where you can design your rule step by step.
- Select a Trigger
- Choose an event that will start your rule (e.g., “When a page is created”).
- Configure the trigger, if needed, and click Save.
- Add Components
- Select the next component type you want to add:
- Condition: Define specific criteria for the rule to proceed.
- Branch: Create parallel workflows within the rule.
- Action: Specify what the rule should do (e.g., send a notification or add a label).
- Configure each component and click Save after setting it up.
- Select the next component type you want to add:
- Build the Rule Chain
- Continue adding components (conditions, actions, or branches) as needed.
- Each saved component will appear in the rule chain on the left for easy review.
- Update Rule Details (Optional)
- Click Rule details to update the default settings, such as the rule’s Owner and Actor.
- Ensure these settings align with your requirements.
- Name Your Rule: Enter a clear, descriptive name for your rule to make it easy to identify.
- Enable the Rule: Once you’re satisfied with your setup, click Turn it on at the top to save and activate your rule.
Building a rule in the Rule Builder allows you to design customized automations tailored to your team’s needs. By selecting triggers, adding components, and configuring settings step by step, you can create a rule that streamlines workflows and eliminates repetitive tasks. Once your rule is complete, enabling it ensures your automation works seamlessly, saving time and improving efficiency. This flexible approach helps you take full advantage of Confluence Automation to keep your workspace running smoothly.
Example
Let’s assume you want to Send an Email Notification When a Page is Updated automatically. You can follow these steps:
- Start a New Rule: Click Create rule in the Automation section.
- Select a Trigger: Choose “When a page is updated” and save it.
- Add an Action: Select “Send email”, configure the recipient, and add a message (e.g., “The page {{page.title}} has been updated. Check it out: {{page.url}}”).
- Enable the Rule: Name your rule (e.g., “Page Update Email Notification”) and click Turn it on to activate.
Confluence Automation Limitations and Tips for Success
While Confluence Automation is helpful for simplifying tasks, it has some limitations to keep in mind:
- Limited Features: It handles common tasks like notifications and labeling but doesn’t support complex custom workflows or advanced scripting.
- Permissions: Only admins or authorized users can set up rules, and automation won’t work in spaces where the creator lacks access.
- Performance Issues: Too many or complex rules can slow down Confluence, especially in busy spaces. Some plans also limit how often rules can run.
- Costs: Automation is a premium feature available only in Confluence Premium or Enterprise plans. Additional tools for advanced needs may require extra costs.
To get the best out of Confluence Automation, start with a few simple rules that solve common tasks and add more as your team gets comfortable. Check your rules regularly to make sure they still work well and fit your team’s needs as things change. Keep your automation setup clear and organized to avoid any mix-ups or problems, and try out new rules in a small space before using them everywhere. This way, you can enjoy the benefits of automation without running into unnecessary issues.
Related Blogs
- Jira Automation: How to Building New Rules and Top 5 Rules
- What are plans in Jira Premium & Common Jira configurations for your plan
- How to add multiple workflows to a Jira Project?
- Understanding Project roles in Jira Service Management
- How to become an Agent for your Jira Service Project?
Conclusion
Confluence Automation is a powerful feature that simplifies how teams manage their work in Confluence. By automating repetitive tasks like sending notifications, organizing content, and managing workflows, it enables teams to save time, stay organized, and focus on what matters most.
Moreover, it streamlines a variety of tasks, from content management and project updates to integrations with tools like Slack and Jira. Whether it’s automating page creation, sending reminders, or ensuring consistent organization, Confluence Automation keeps your workspace running smoothly and efficiently.
By using Confluence Automation effectively, your team can work smarter, stay aligned, and reduce the effort spent on manual tasks. It’s an essential tool for modern, growing teams.