Jira Cloud is a widely used project management tool that provides a range of features to help teams plan, track, and manage their work effectively. One of the key aspects of Jira Cloud is the permission scheme, which allows project administrators to define who can access and perform certain actions within a project. In this blog post, we will provide a comprehensive guide to the permission scheme in Jira Cloud, and highlight five common mistakes that you should avoid.

Understanding the Permission Scheme in Jira Cloud
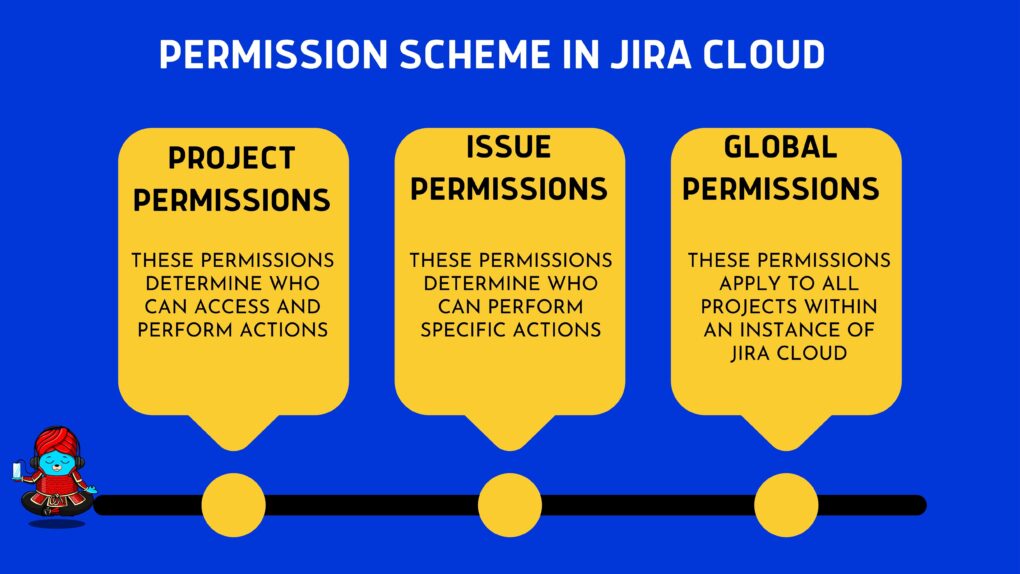
The permission scheme in Jira Cloud is a set of rules that determines who can access and perform specific actions within a project. These rules are defined by project administrators and are applied to individual projects. The permission scheme includes a set of permissions, which can be grouped into three main categories:
Project permissions: These permissions determine who can access and perform actions within a project, such as creating issues, editing issues, and deleting issues.
Issue permissions: These permissions determine who can perform specific actions on individual issues, such as commenting on issues, resolving issues, and reopening issues.
Global permissions: These permissions apply to all projects within an instance of Jira Cloud, and determine who can perform actions such as creating new projects and administering users.
When creating a permission scheme in Jira Cloud, it’s important to consider the following factors:
Role-based access: In Jira Cloud, access to specific actions and features is typically assigned based on a user’s role within a project. For example, a project manager may have access to all actions within a project, while a team member may only have access to create and edit issues.
Security requirements: Depending on the nature of your project, you may need to restrict access to certain actions and features. For example, if you are working on a project with sensitive data, you may want to restrict access
How does the permission scheme work in Jira Cloud?
In Jira Cloud, the permission scheme is associated with a project. Each project can have its own permission scheme, which determines who can perform specific actions within the project. The permission scheme consists of a set of permissions, which are grouped into permission levels. Each permission level defines a set of actions that users with that permission level can perform.
When a user tries to perform an action within a project, Jira Cloud checks the permission scheme to see if the user has the necessary permission level to perform the action. If the user has the required permission level, the action is allowed. If the user does not have the required permission level, the action is blocked.
Manage project permissions
In Jira Cloud, project permissions are managed through the permission scheme, which is a set of rules that determine who can perform specific actions within a project
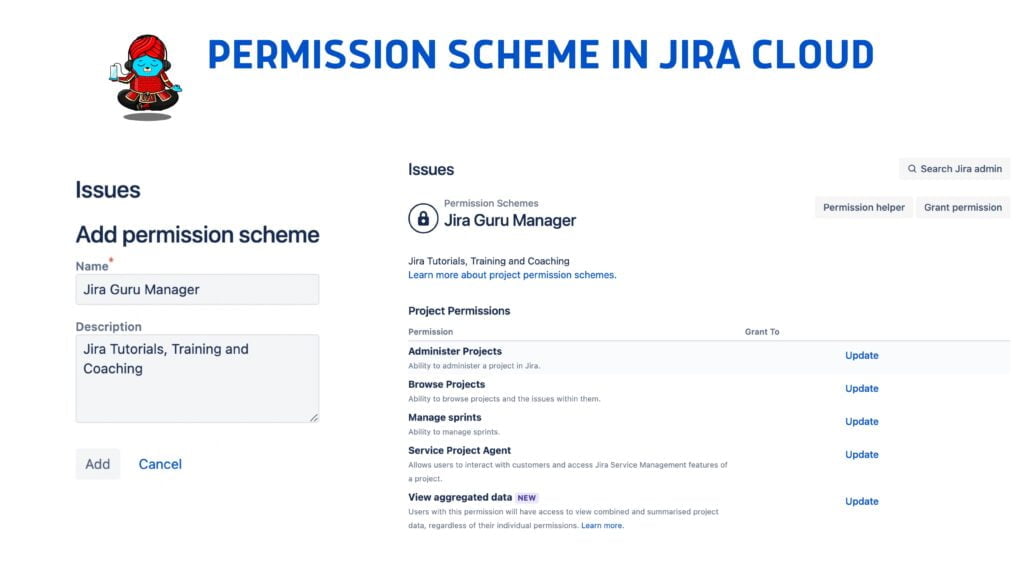
- How to create a permission scheme?
- How to add users, groups, or roles to a permission scheme and grant their project permissions
- How to associate a permission scheme with a company-managed project
- How to remove users, groups, or roles from a permission scheme
- How to copy a permission scheme
- How to delete a permission scheme
 Atlassian provides an extremely detailed tutorial for all issue above here
5 common mistakes to avoid when using permission schemes in Jira Cloud
1. Giving too many users administrator access
Administrator access in Jira Cloud gives users access to all features and settings in a project, including the ability to modify the permission scheme. While it may be tempting to give administrator access to many users, doing so can create security risks and result in unintended changes to the permission scheme. It is important to limit administrator access to a small group of trusted users.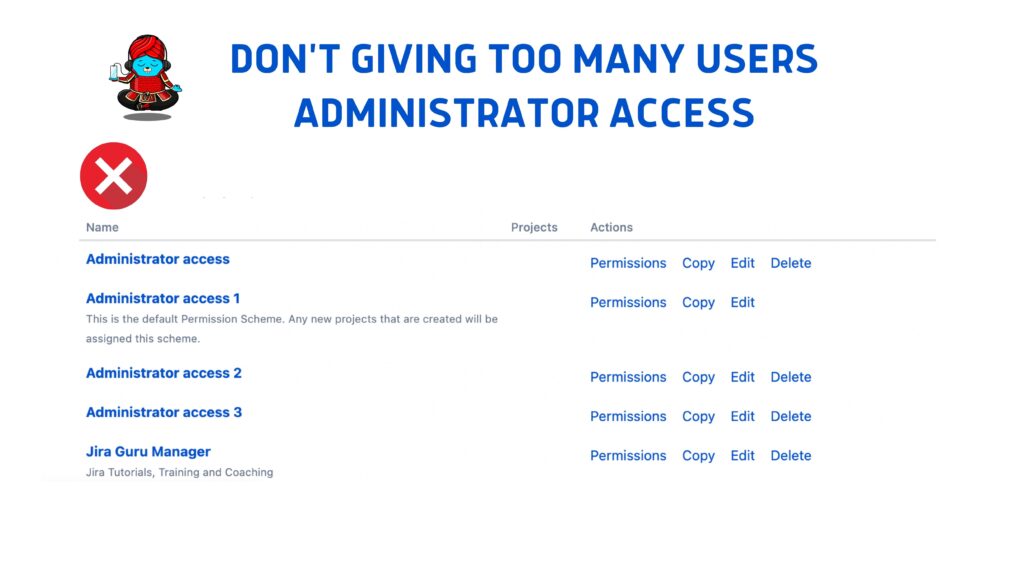
2. Not reviewing permission schemes regularly
As projects evolve, the permission scheme may need to be updated to reflect changes in team roles, responsibilities, and workflows. Failure to review and update the permission scheme regularly can result in users having unnecessary access to sensitive information or being blocked from performing essential actions.
3. Giving too much access to external users
External users, such as clients or vendors, may need to access a project to provide feedback or collaborate with the team. However, it is important to limit their access to only the information and actions they need to complete their tasks. Giving too much access to external users can result in security risks and compromise sensitive information.
4. Using default permission schemes without customization
Jira Cloud provides several default permission schemes that can be used as a starting point for creating a custom permission scheme. However, it is important to customize the permission scheme to reflect the specific needs of the project and team. Using default permission schemes without customization can result in users having unnecessary access to information or being blocked from performing essential actions.
5. Not testing the permission scheme before deploying
Before deploying a new permission scheme, it is important to test it thoroughly to ensure that it works as intended. Failure to test the permission scheme can result in unintended consequences, such as users being blocked from performing essential actions or having unnecessary access to sensitive information.
Advanced tips and tricks for using permission schemes in Jira Cloud
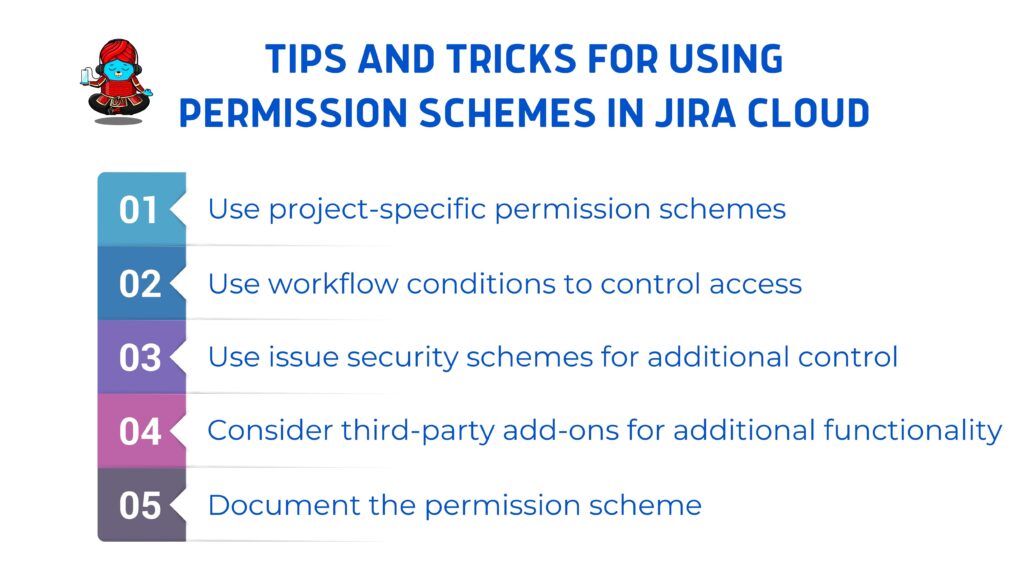
- Use project-specific permission schemes: If your team works on multiple projects, consider creating project-specific permission schemes. This allows you to customize the permission scheme for each project, rather than using a one-size-fits-all approach.
- Use workflow conditions to control access: Workflow conditions can be used to control access to specific actions within a project. For example, you can create a workflow condition that requires a user to have a certain permission level before they can transition an issue to a specific status.
- Use issue security schemes for additional control: Issue security schemes can be used to restrict access to specific issues within a project. For example, you can create an issue security scheme that only allows certain users to access issues with a specific security level.
- Consider third-party add-ons for additional functionality: Jira Cloud has a robust marketplace of third-party add-ons that can be used to extend the functionality of the permission scheme. For example, there are add-ons available that allow you to manage permissions across multiple projects, or that provide additional security features.
- Document the permission scheme: Finally, it is important to document the permission scheme for future reference. This can include details on which users have which permission levels, how the permission scheme is configured, and any customizations that have been made. This documentation can be invaluable in the event of a security breach or when onboarding new team members.
In conclusion, the permission scheme is a critical aspect of project management in Jira Cloud. By following best practices and avoiding common mistakes, you can ensure that your team has the access they need to complete their tasks while maintaining the security and integrity of your data.